
Laboratory SOPs: the procedures behind a result you can defend
A laboratory SOP describes one routine task in a way that lets two analysts get the same result and an auditor trace how: receiving a sample, checking the balance, verifying a pipette, making up a reagent, running the autoclave, investigating a failed result. An accredited lab runs on 100 or more. The six below are the ones every lab needs whatever it tests, and the ones an ISO 17025 assessor or an FDA investigator reads first.
Download the laboratory SOP pack (Word)
Which SOPs a laboratory operation needs
The full set, with when each one is used, what it leaves behind as a record, and the rule it answers to. The ones a laboratory gets asked about first are written out in full below.
| Procedure | When | Record | Basis |
|---|---|---|---|
| Sample receipt and chain of custody | Every sample | Sample log; CoC form | ISO 17025 7.4; 21 CFR 58.47 (GLP) |
| Balance daily check | Every day of use | Balance log | USP <41> and <1251>; ISO 17025 6.4 |
| Pipette verification | Daily or weekly check; calibration per schedule | Pipette log | ISO 8655; ISO 17025 6.4 |
| Reagent and solution preparation | Every preparation | Reagent log; label | ISO 17025 6.6; 21 CFR 211.194 |
| Autoclave operation and validation | Every run; BI test weekly | Autoclave log | CDC/HICPAC; ISO 17665 |
| Out-of-specification results | Every OOS | OOS investigation record | FDA Guidance: Investigating OOS Test Results (2022) |
| Equipment logbooks and maintenance | Every use | Logbook | ISO 17025 6.4.13 |
| Fridge, freezer and incubator temperatures | Daily | Temperature log | ISO 17025 6.4; method requirements |
| Laboratory waste | Continuous | Waste log | OSHA 1910.1450; EPA RCRA; local rules |
| Data integrity and record keeping | Continuous | Audit trail reviews | ALCOA+; 21 CFR Part 11; MHRA GxP data integrity guidance |
The procedures, written out
These are general procedures. Your equipment, your products, your site rules and your local law come first — change the names, the limits and the forms to match, then have the right person approve each one before it is used.
Sample receipt and chain of custody
| Area | Sample reception | Done by | Sample receipt technician |
Purpose. Accept a sample in a condition that makes the result meaningful, identify it uniquely, and record who had it from the moment it arrived.
Scope. All samples received for testing, from clients, production or the field. Samples the lab collects itself start the chain at collection.
Safety.
- Treat unknown samples as hazardous until the paperwork says otherwise. Gloves, safety glasses and a lab coat at reception; open leaking packages in the fume hood.
| Step | Action | Key point / warning |
|---|---|---|
| 1 | Check the package: intact, sealed, correct temperature for the sample type (ice packs still cold, dry ice present). Record the temperature on arrival for temperature-sensitive samples. | A microbiology sample that arrived warm is not a sample. Record it, notify the client, do not test it as if it were fine. |
| 2 | Match the sample to the request form or chain-of-custody form: sample ID, number of containers, tests requested, date and time sampled, sampler's name. | Any mismatch: hold the sample, call the client, record the call. Do not guess which test they meant. |
| 3 | Assign the laboratory sample number from the LIMS or the sample register. Write it on every container and on the form. One number, every container. | |
| 4 | Record the receipt: date and time, who received it, condition, temperature, storage location. Sign the chain-of-custody form as the receiver. | The CoC is signed by the person who handed it over and the person who took it. A courier signs as a link in the chain. |
| 5 | Store at the condition the method requires until testing: refrigerated, frozen, ambient, dark. Record the location. | |
| 6 | Every transfer within the lab (to the analyst, to storage, to disposal) is recorded with date, time and both initials — on the CoC for legal samples, in the LIMS otherwise. | |
| 7 | Retain the sample after testing for the retention period in the quality manual, then dispose of it by the waste SOP and record the disposal. |
Record. Sample register / LIMS entry; signed CoC form; storage and transfer records; disposal record.
Basis. ISO/IEC 17025:2017 clause 7.4 (handling of test items); 21 CFR 58.47 for GLP studies; 40 CFR 136 for environmental samples (US).
Daily balance check
| Area | Weighing room | Done by | First analyst to use the balance that day |
Purpose. Confirm the balance is reading correctly before any weighing that will become part of a result.
Scope. Every analytical and top-pan balance in use. The daily check does not replace the annual calibration by a service engineer.
Safety.
- Check weights are handled with forceps or gloves. Finger grease changes a 100 mg weight by a measurable amount.
| Step | Action | Key point / warning |
|---|---|---|
| 1 | Check the balance is level (bubble centred), clean, and has been switched on for at least 30 minutes. | A balance switched on this morning has not stabilised. |
| 2 | Check the calibration sticker is in date and the balance has no open fault or maintenance tag. | |
| 3 | Close the draft shield. Tare. Check the display reads zero and is stable. | |
| 4 | Weigh the check weights for the range the balance is used in — usually a low, a mid and a high weight (for example 10 mg, 1 g, 100 g on a 220 g analytical balance). Record each reading. | Use the certified weights assigned to that balance, with their certificate on file. |
| 5 | Compare each reading to the certified value. The balance passes if every reading is within the tolerance set in the balance's log (commonly ±0.1% of the weight, or the USP <41> requirement of repeatability ≤0.10% and accuracy within 0.10% for the minimum weight). | Out of tolerance: tag the balance "Do not use", inform the lab supervisor, and record it. Do not adjust it yourself unless the SOP for internal adjustment says you may. |
| 6 | Record the check: date, time, each weight and reading, pass/fail, initials. Return the weights to their case. |
Record. Balance logbook per balance; check-weight certificates; service calibration certificates.
Basis. USP <41> Balances and <1251> Weighing on an Analytical Balance; ISO/IEC 17025 6.4 (equipment); OIML R 76.
Pipette verification
| Area | All benches | Done by | Analyst who uses the pipette; QA for the periodic calibration |
Purpose. Know that a pipette set to 100 µL delivers 100 µL — before a result depends on it.
Scope. All air-displacement and positive-displacement pipettes used for quantitative work. Daily check before critical use; full gravimetric calibration at the scheduled interval (typically 3 to 6 months).
Safety.
- Pipettes used with hazardous or infectious material are decontaminated before verification or service.
| Step | Action | Key point / warning |
|---|---|---|
| 1 | Inspect: tip cone undamaged, plunger moves smoothly, no liquid inside the shaft, volume display readable, calibration sticker in date. | A pipette that has aspirated liquid into the body is contaminated and reads wrong. Tag it for service. |
| 2 | Gravimetric check at the volumes in the pipette's log — typically 10%, 50% and 100% of nominal for variable pipettes. Use distilled water at room temperature, a balance with suitable resolution (0.01 mg for ≤10 µL; 0.1 mg for ≤100 µL; 1 mg above), and the same tip type used in work. | Let the water, the pipette and the room equalise; a 2°C difference changes the density correction. |
| 3 | Pre-wet the tip three times. Deliver ten replicates at each volume into the tared weighing vessel. Record each mass. | |
| 4 | Convert mass to volume using the Z factor for the water temperature and air pressure (about 1.0032 µL/mg at 20°C, 101.3 kPa). Calculate the mean (accuracy) and the standard deviation (precision). | |
| 5 | Compare to the limits in the pipette log, taken from ISO 8655 for the pipette class (for example, a 100 µL pipette: systematic error ≤ ±0.8 µL, random error ≤ 0.3 µL). Pass: record and sticker. Fail: tag "Do not use" and send for adjustment or service. | Results produced with a pipette that then fails verification are assessed under the OOS/deviation SOP, back to the last pass. |
| 6 | Record: pipette ID, date, volumes, readings, mean, SD, pass/fail, analyst. |
Record. Pipette log per pipette; verification records; service and calibration certificates.
Basis. ISO 8655-2 and 8655-6 (piston-operated volumetric apparatus); ISO/IEC 17025 6.4.
Reagent and solution preparation
| Area | Prep bench | Done by | Analyst; second analyst verifies critical solutions |
Purpose. Make a solution that is what its label says, traceable to the materials it was made from, and dated so nobody uses it after it has changed.
Scope. All reagents, standards, buffers and media prepared in the lab. Reference standards have their own SOP.
Safety.
- Read the SDS before you handle a chemical for the first time. Concentrated acids are added to water, never water to acid. Volatile and toxic chemicals are handled in the fume hood.
| Step | Action | Key point / warning |
|---|---|---|
| 1 | Follow the written preparation method from the method file. No method, no preparation: write and approve one first. | |
| 2 | Check each starting material: correct grade, within expiry, container labelled with the date opened. Record the lot number of each. | An opened container with no open date has an unknown shelf life. Label it today or discard it. |
| 3 | Weigh and measure with checked equipment (see the balance and pipette SOPs). Record the actual weights and volumes, not the target. | |
| 4 | Prepare, dissolve, make up to volume at the temperature the method specifies. Mix as stated. | Volumetric flasks are made up at 20°C; a warm solution read to the mark will be short when it cools. |
| 5 | Label the container at once: solution name and concentration, date prepared, expiry or use-by date (from the method), preparer's initials, storage condition, and the reagent log number. Hazard pictograms where the chemical requires them. | An unlabelled bottle on a bench is waste. Nobody will use it, and someone will have to dispose of it as unknown. |
| 6 | Record in the reagent log: log number, name, concentration, materials and lots, quantities, date, preparer, verifier, expiry. | |
| 7 | Critical solutions (titrants, standards, mobile phases where the method says so): second analyst verifies calculations and weighings and initials the record. Standardise titrants per the method before first use. |
Record. Reagent preparation log; labels on every container; standardisation records.
Basis. ISO/IEC 17025 6.6 (externally provided products) and 7.2 (methods); 21 CFR 211.194(a)(5); OSHA 1910.1200 for labelling; OSHA 1910.1450 (laboratory standard).
Autoclave operation and sterility verification
| Area | Media prep / decontamination room | Done by | Trained operator |
Purpose. Sterilise media, glassware and waste so that it is sterile, and prove it — with every cycle recorded and a biological indicator run on schedule.
Scope. Every autoclave cycle: media, equipment, and biohazard waste. Loading patterns and cycle parameters are from the validated load list.
Safety.
- Superheated liquids: let liquid loads cool in the chamber on the liquids cycle; opening a hot liquid load boils it over. Face shield and heat-resistant gloves to unload.
- Never autoclave sealed containers, flammable solvents, bleach or anything on the prohibited list on the autoclave door.
| Step | Action | Key point / warning |
|---|---|---|
| 1 | Check the previous cycle's printout was filed and the chamber is empty and clean. Check the door gasket and the drain screen. | |
| 2 | Load per the validated load pattern. Caps loosened on bottles; bags open; items not touching the walls; chemical indicator tape on every pack and a chemical indicator strip inside one pack per load. | An overloaded chamber has cold spots. The validation was done with the load pattern on the chart. |
| 3 | Select the validated cycle for the load type: typically 121°C (250°F) at 15 psi for 15 to 30 minutes exposure for media and waste; 134°C for instruments where validated. Start the cycle and record the start on the log. | |
| 4 | At the end: check the printout or data log shows the sterilisation temperature was held for the full exposure time. Check the indicator tape and the internal strip have changed colour. | No printout, or the time at temperature is short: the load is not sterile. Re-run it. Do not release it. |
| 5 | Unload liquids only after the chamber reads below 80°C. Label media with the date and cycle number. | |
| 6 | Record the cycle: date, cycle number, load type, operator, temperature and time from the printout, indicator results. Attach the printout. | |
| 7 | Weekly (or per load for implantables and critical items): run a biological indicator (Geobacillus stearothermophilus) in the coldest point of a routine load. Incubate per the manufacturer with a positive control. Record the result. A positive BI: quarantine every load since the last negative and call the service engineer. |
Record. Autoclave logbook with printouts; BI results; service and validation records (annual requalification).
Basis. CDC/HICPAC Guideline for Disinfection and Sterilization in Healthcare Facilities (sterilisation monitoring); ISO 17665-1; your autoclave's validation report.
Out-of-specification result investigation
| Area | Any test | Done by | Analyst reports; supervisor leads phase 1; QA leads phase 2 |
Purpose. Find out whether a failing result is a true failure of the sample or an error in the laboratory — without re-testing until something passes.
Scope. Any result outside the specification or acceptance criteria, in QC release testing, stability or method validation. Out-of-trend results follow the same path at the supervisor's discretion.
Safety.
- No safety hazard beyond the method's own. The hazard is to the integrity of the data: do not discard anything from the test — solutions, vials, printouts — until the investigation is closed.
| Step | Action | Key point / warning |
|---|---|---|
| 1 | Analyst: as soon as a result is out of specification, stop. Do not re-inject, re-weigh or re-calculate. Keep every solution, vial, standard and printout. Tell the supervisor at once. | A 'quick re-test' before the investigation is the single thing FDA investigators look for in the audit trail. |
| 2 | Phase 1, laboratory investigation, same day: analyst and supervisor review the test together with the checklist — correct sample, correct method version, calculations, dilutions, standard preparation, instrument suitability, system suitability results, glassware, any observed event. | |
| 3 | If an assignable laboratory error is found and documented (for example a dilution error visible in the record), the original result is invalidated with the reason, and the test is repeated once from the point of the error. The invalidated result stays in the record. | An error that cannot be shown in the record is not an assignable cause. 'Analyst thinks they may have mis-pipetted' is a hypothesis, not a finding. |
| 4 | If no laboratory error is found: the result stands as a valid OOS. Raise the phase 2 investigation with QA and production (or the client), looking at the sample, the manufacturing process and the sampling. | |
| 5 | Phase 2 may include re-testing of the original sample preparation or a new preparation from the same sample, per a written plan approved before testing starts, with the number of re-tests and the criteria fixed in advance. Averaging a passing re-test with a failing original to pass is not permitted. | Re-sampling (a new sample from the batch) only if the investigation shows the original sample was not representative, and with QA approval. |
| 6 | Conclude: true OOS (batch rejected or further action) or invalidated with an assignable cause. Record the root cause and the corrective action. QA approves closure within the timescale in the quality manual (commonly 30 days). | |
| 7 | Trend OOS and invalidated results by method, instrument and analyst monthly. A repeating 'analyst error' is a training or method problem. |
Record. OOS investigation record with phase 1 checklist and phase 2 plan; retained original data; CAPA; monthly OOS trend.
Basis. FDA Guidance for Industry: Investigating Out-of-Specification (OOS) Test Results for Pharmaceutical Production (May 2022); MHRA guidance on OOS/OOT; ISO/IEC 17025 7.10 (nonconforming work).
Where laboratory SOPs go wrong
The re-test happens before the investigation
The analyst, meaning well, injects again and the second result passes. The first result is now a 'glitch'. Under the 2022 FDA guidance that sequence is itself a finding, and the audit trail shows it. The SOP has to say 'stop and tell the supervisor' as step one, and the supervisor has to mean it.
The balance is checked at the start of the month
A once-a-month check with a sticker is calibration theatre. A balance moves when it is bumped, when the bench is leaned on, when the HVAC changes. Daily check weights across the range, recorded, and the balance tagged out when it fails.
Bottles are labelled with a name and nothing else
'0.1 M NaOH' with no date, no initials and no log number is a solution of unknown age and unknown strength. The label template should be printed with every field, and the field for the expiry should be impossible to leave blank.
Chain of custody breaks inside the building
The CoC is signed at the door and then the sample sits on a bench, moves to a fridge, goes to an analyst, and nobody wrote any of it down. For a legal or regulatory sample that chain is the result. Every hand-off, both initials.
SOPs describe the ideal lab, not this one
A procedure copied from a template that refers to equipment the lab does not have, or a LIMS it does not use, trains the analysts to ignore the procedure. Write the SOP from the bench, with the instrument IDs and the logbook names your lab actually uses.
Getting analysts to follow them
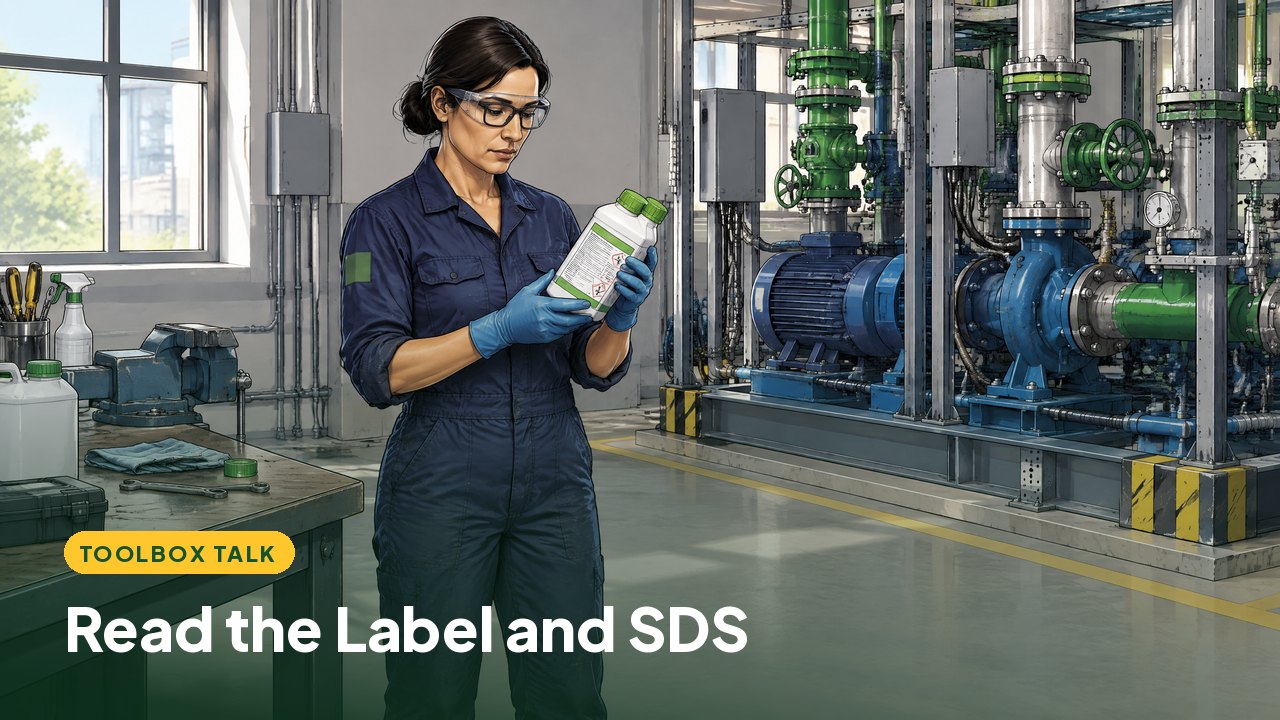
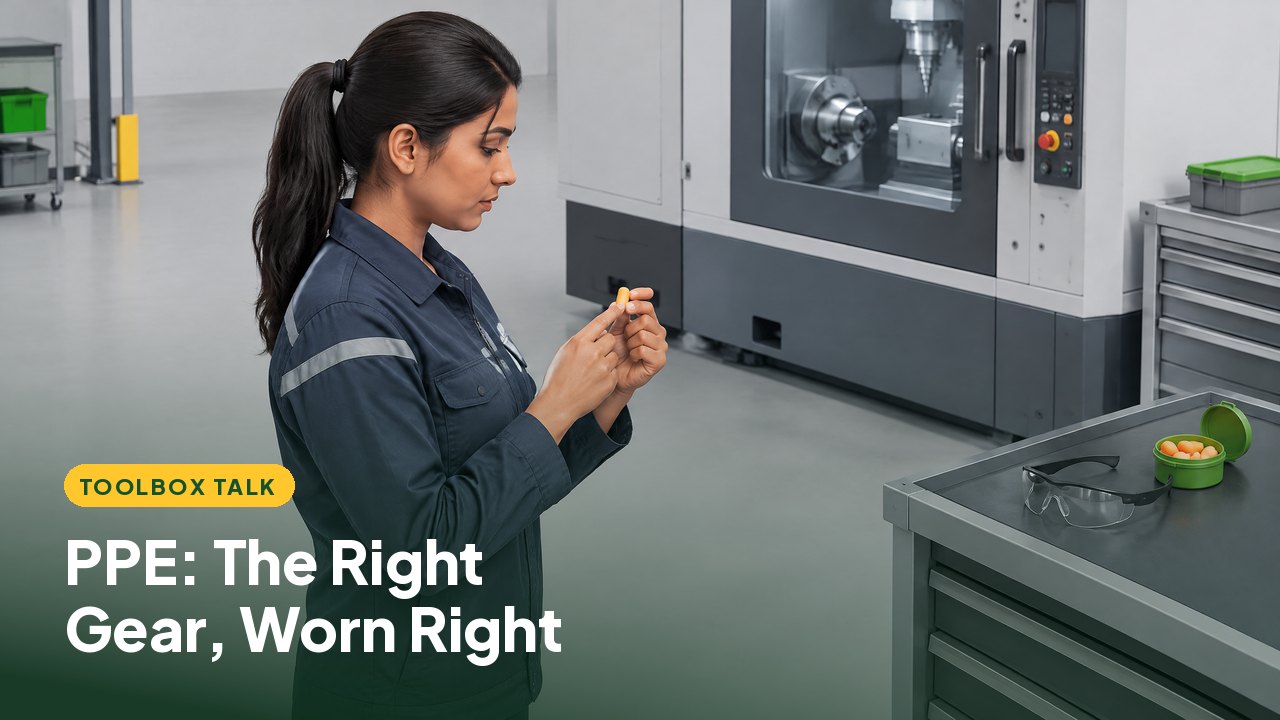
Keep the controlled SOP in the document system and a one-page extract at the point of use: the check-weight tolerances on the balance, the loading chart on the autoclave, the 'stop and tell the supervisor' rule on every instrument. New analysts and students arrive every term; a short video of the balance check and the sample receipt steps, in the languages your lab works in, gets everyone to the same technique before their first result is recorded. The chemical labels talk covers GHS labels and the SDS, and the PPE talk covers the glasses-and-gloves rules every lab argues about.
 2:23
2:23Hazard communication
 2:49
2:49PPE
 2:21
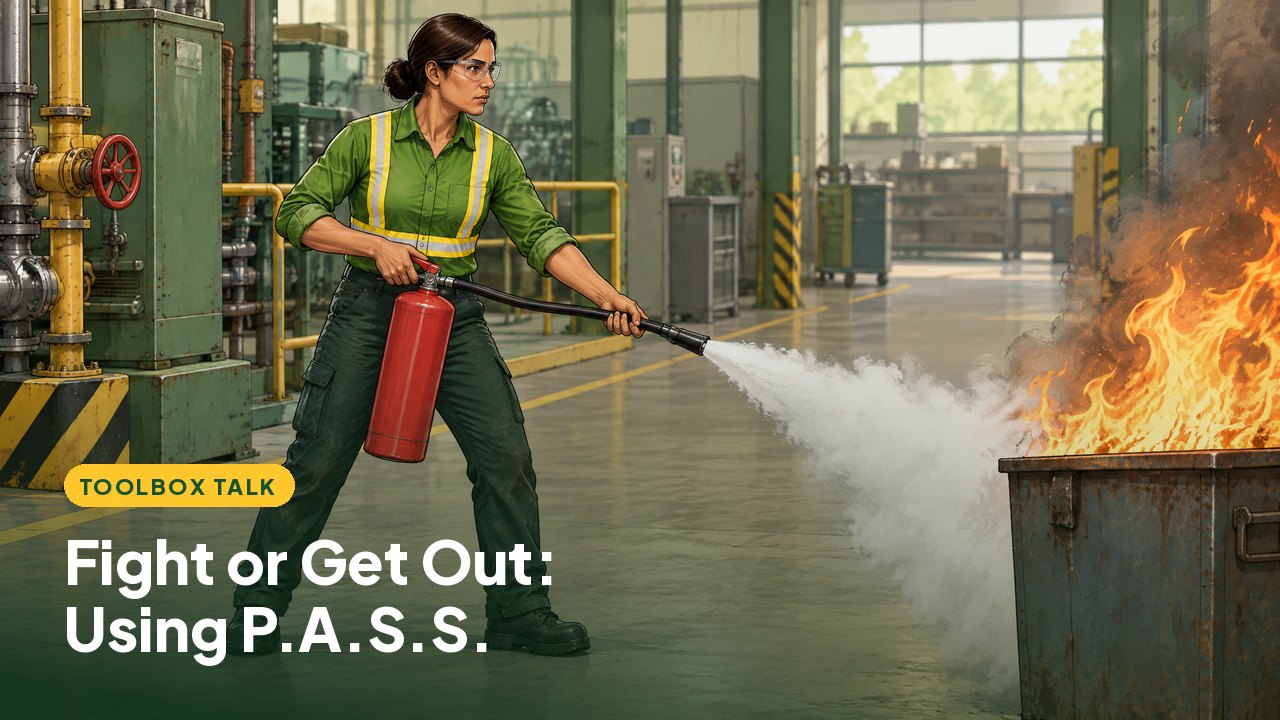
2:21Fire extinguishers (PASS)
Questions
What SOPs does ISO 17025 require?
ISO/IEC 17025:2017 requires documented procedures where their absence would affect the validity of results, and it names areas: equipment (6.4), handling of test items (7.4), technical records (7.5), nonconforming work (7.10), control of data (7.11), plus the management-system procedures. An assessor will expect a written procedure for every method and every piece of measuring equipment.
What is the difference between an OOS and an OOT result?
An out-of-specification result fails a stated limit. An out-of-trend result passes but is unexpected against the history of that product or method — a sudden step or a drift. OOS always triggers the investigation; OOT is investigated at the discretion of the supervisor, and a good lab sets a numerical trigger for it.
How long are laboratory records kept?
It depends on the regulation. GLP studies: the life of the product plus the period in 21 CFR 58.195. GMP batch records: at least one year after expiry (21 CFR 211.180). ISO 17025: a defined period you set, often 5 to 10 years. Environmental and legal samples: whatever the contract or the regulator says, which can be longer. Write the period into each record's SOP.
Do we need a separate SOP per instrument?
A separate operating procedure per instrument model, yes, with the instrument IDs it covers. One balance SOP can cover all the balances if they are checked the same way; the tolerances and check weights per balance live in each balance's logbook.
Sources
Get one of your laboratory SOPs as a free video
Send one procedure. We send back a 60-second branded video with a quiz, in your crew's languages — free, no obligation.